In the previous lesson Create Wall Opening for Ductwork in Revit 2016 using Dynamo we saw how to create wall openings for ductwork in a project. In today’s lesson we will do the same exercise but this time for cable trays.
First we get all the wall elements and the cable tray elements in the project then get the intersection points between them. As we got the intersection points we need to determine the direction at which the opening shall be placed.
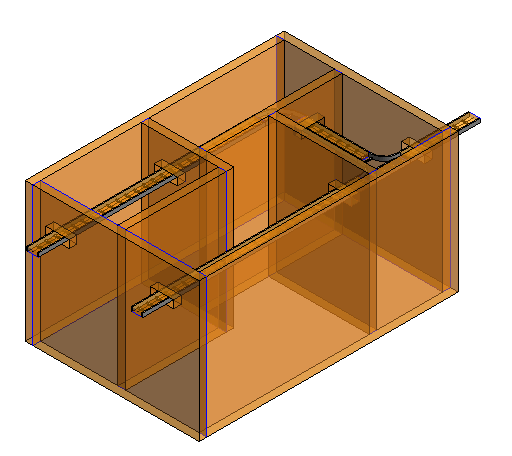
One important point that has bee raised from one of the page’s fans yesterday was that the size of the opening is constant, so now by adjusting the “Size Factor” Node we can control the size of the opening as a function in the dimensions of the cable tray (or duct).
The Revit API and hence Dynamo are using the Feet as its standard measuring units, so in some cases we need to correct the units by multiplying the lengths by conversion factor.
In our case the Revit project units are in mm so I multiplied the lengths came from the Dynamo calculations by 304.8 to convert from Feet to mm.
At the end by using the Python code block we make the magic happen.

You can download the Dynamo workflow from here

The challenge will be create Wall Opening for pipes…
Just wait for today’s topic 🙂
can we get one file include all wall opening all trade (MEP system)