Hello BIM fellows
Today we will see how to quickly create walls from floor edges using Dynamo in Revit 2016. This could be useful for Landscape architects as well as Construction architects.
First we need to get all the Floors that are at the same level, this could be done by getting the intersection set between two lists.
The first list contains all floors in the model and the second one contains all the elements at certain level.
Using combination of “Levels” Node, “Categories” Node and “SetIntesection” Node we get such filtration.
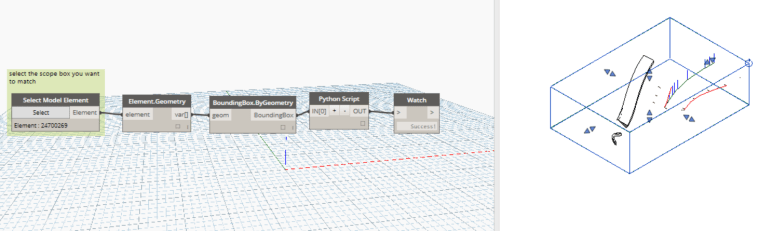
To get the Floor edges we should cut the Floor with a plane and since all floors are almost horizontal we can cut them with the plane of Z axis as its Normal. Once we got the edges the Python Script does its magic.
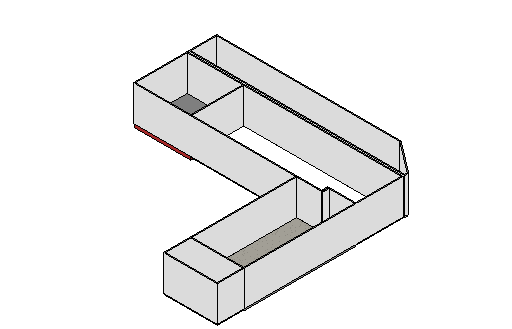
By using the same Level of the Floors, proper Wall Type and the Floors edges we can so easily draw walls on each edge segment.

The Dynamo workflow can be downloaded from here